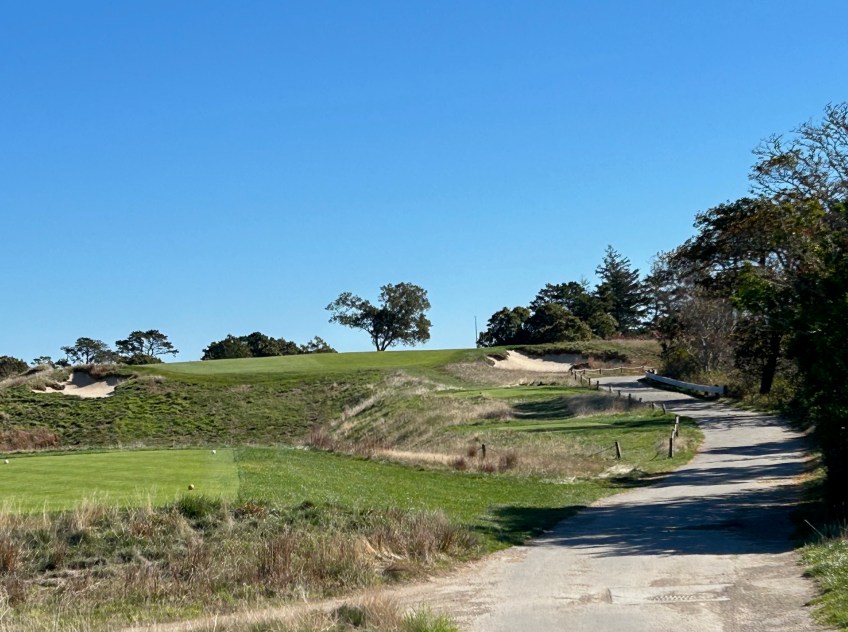
3 EH Par 4 Published February 24, 2026 at 2016 × 1504 in 3 EH Par 4 #3 hides the landing area from the tee so visualization is the key to success here

