On a trip to the St. Andrews you want to extend your links golf pleasure by getting out of town to play places in close proximity like Carnoustie, Crail, and Lundin Links. Well make sure to add Dumbarnie Links to that list because only a drive and a mashie south of the old town Clive Clark has summoned from a piece of seaside rolling farmland all the features and feel of Scottish links golf at its finest.
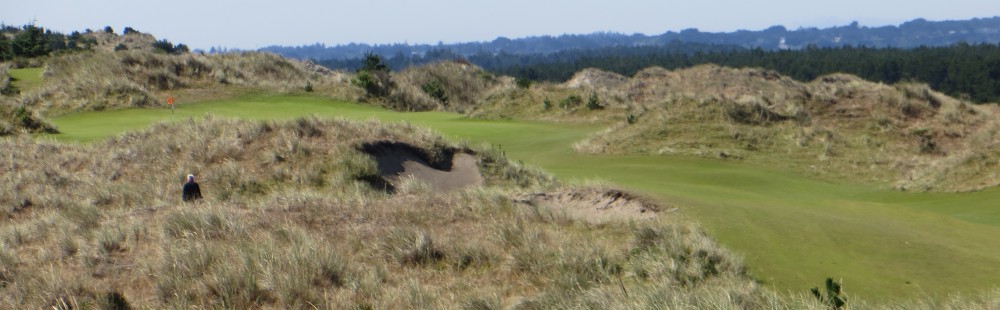
The place has the manufactured feel of other new offerings like Kingsbarns and Castle Stuart but Clark, an accomplished architect of over 30 courses in the UK and around the world, made sure to give you the arbitrariness of blind shots, alternative fairway paths, encroaching burns, punishing revetted face bunkers, and wildly undulating green complexes that makes links golf feel old and distinctive.
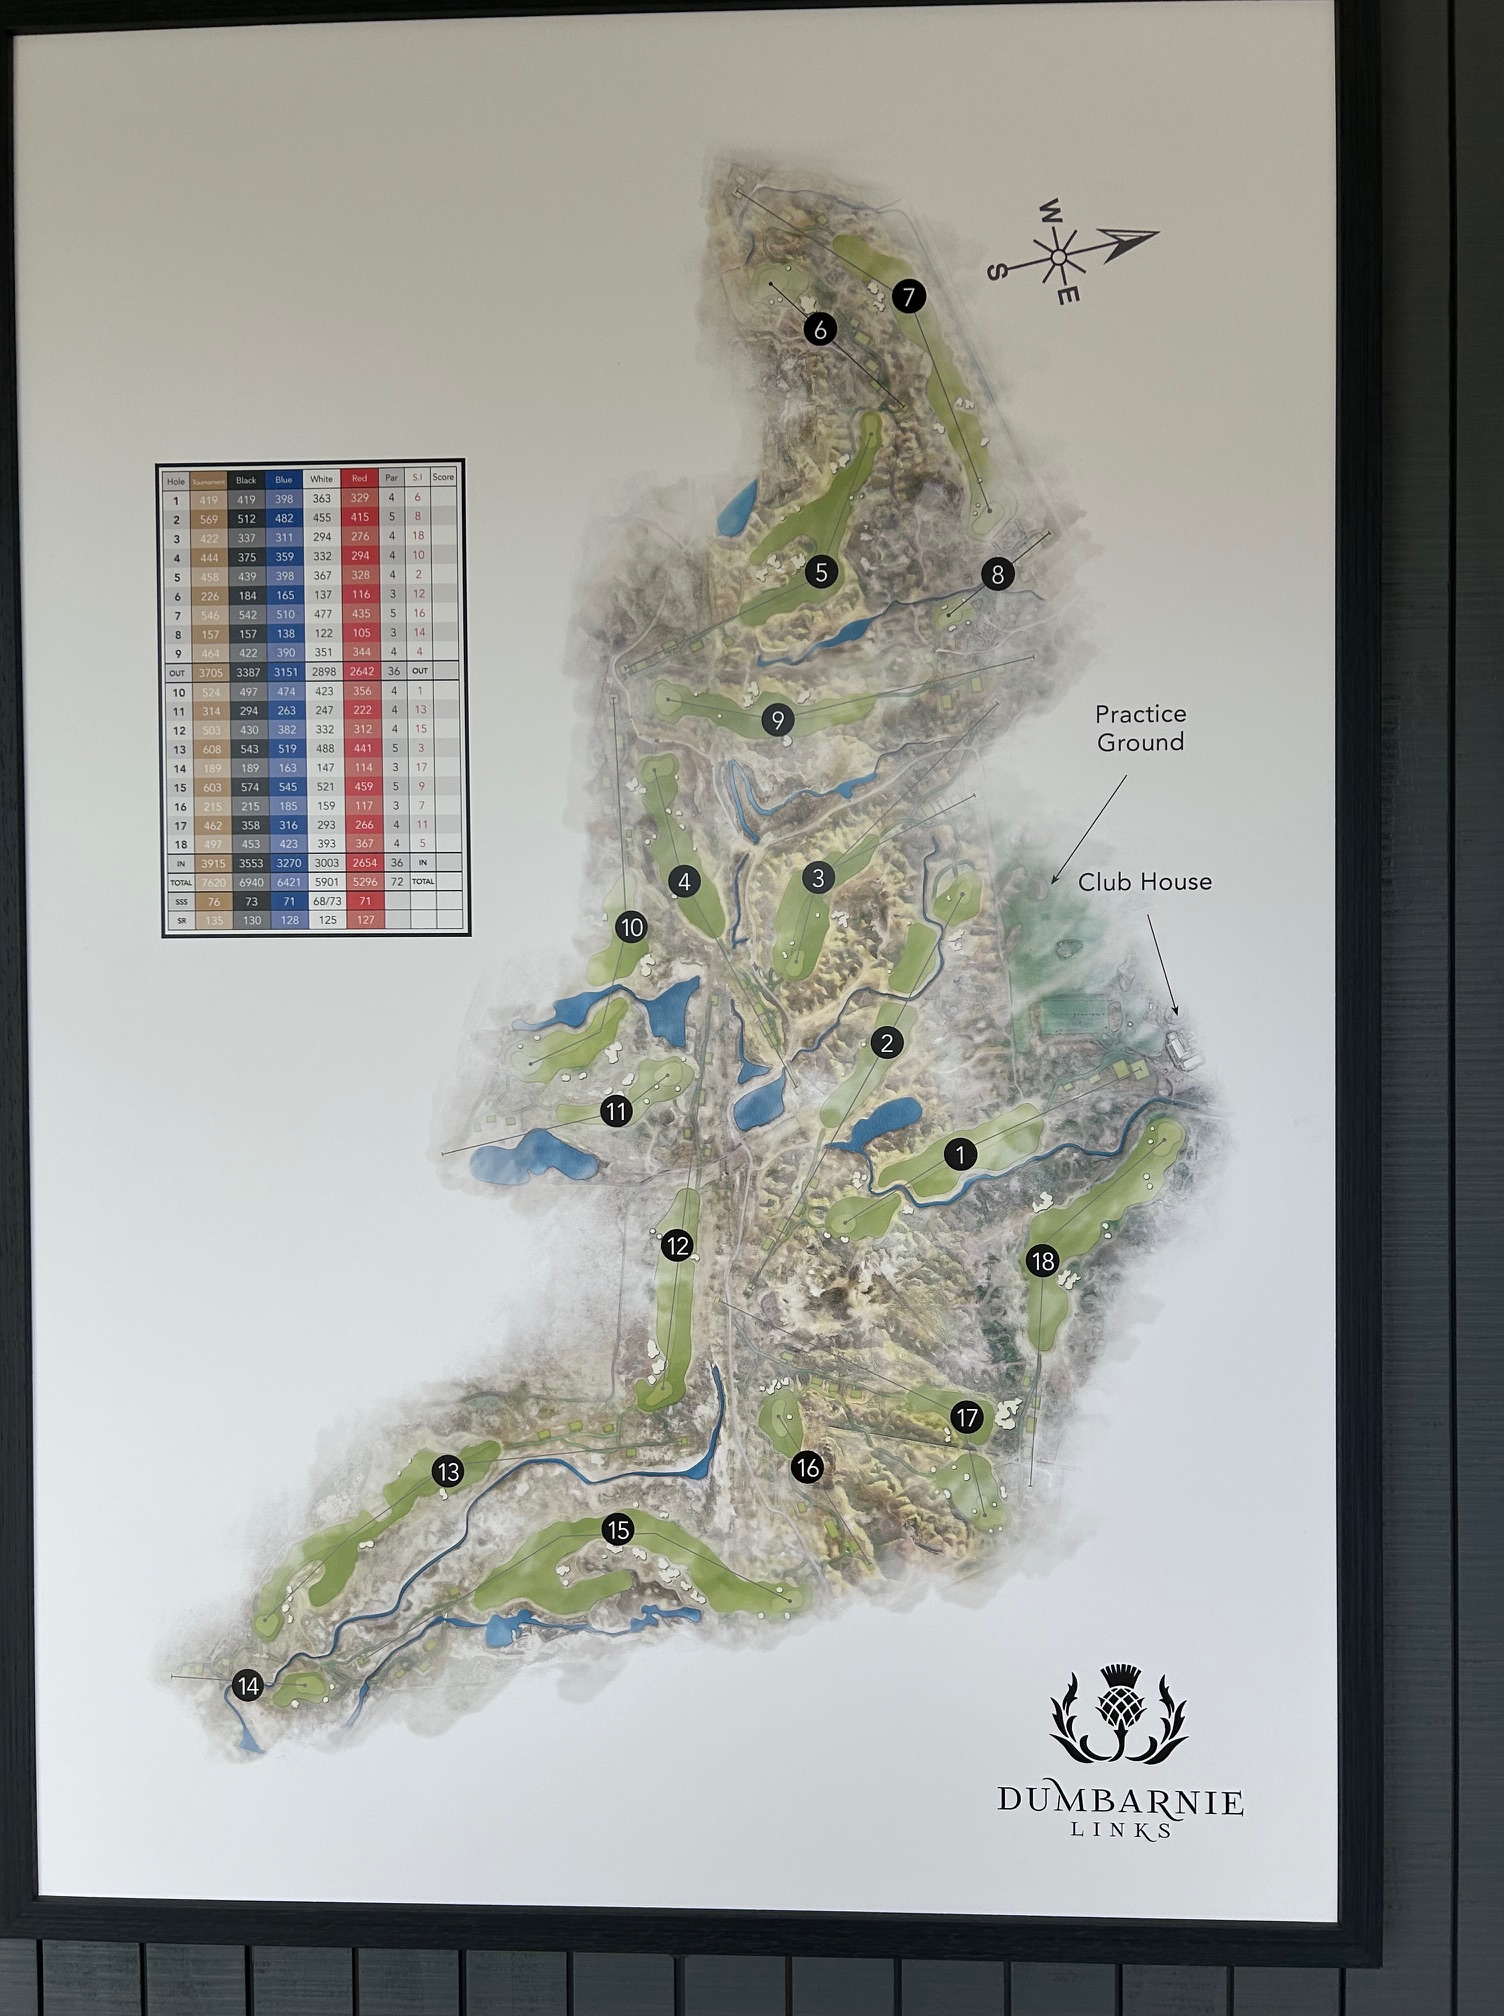
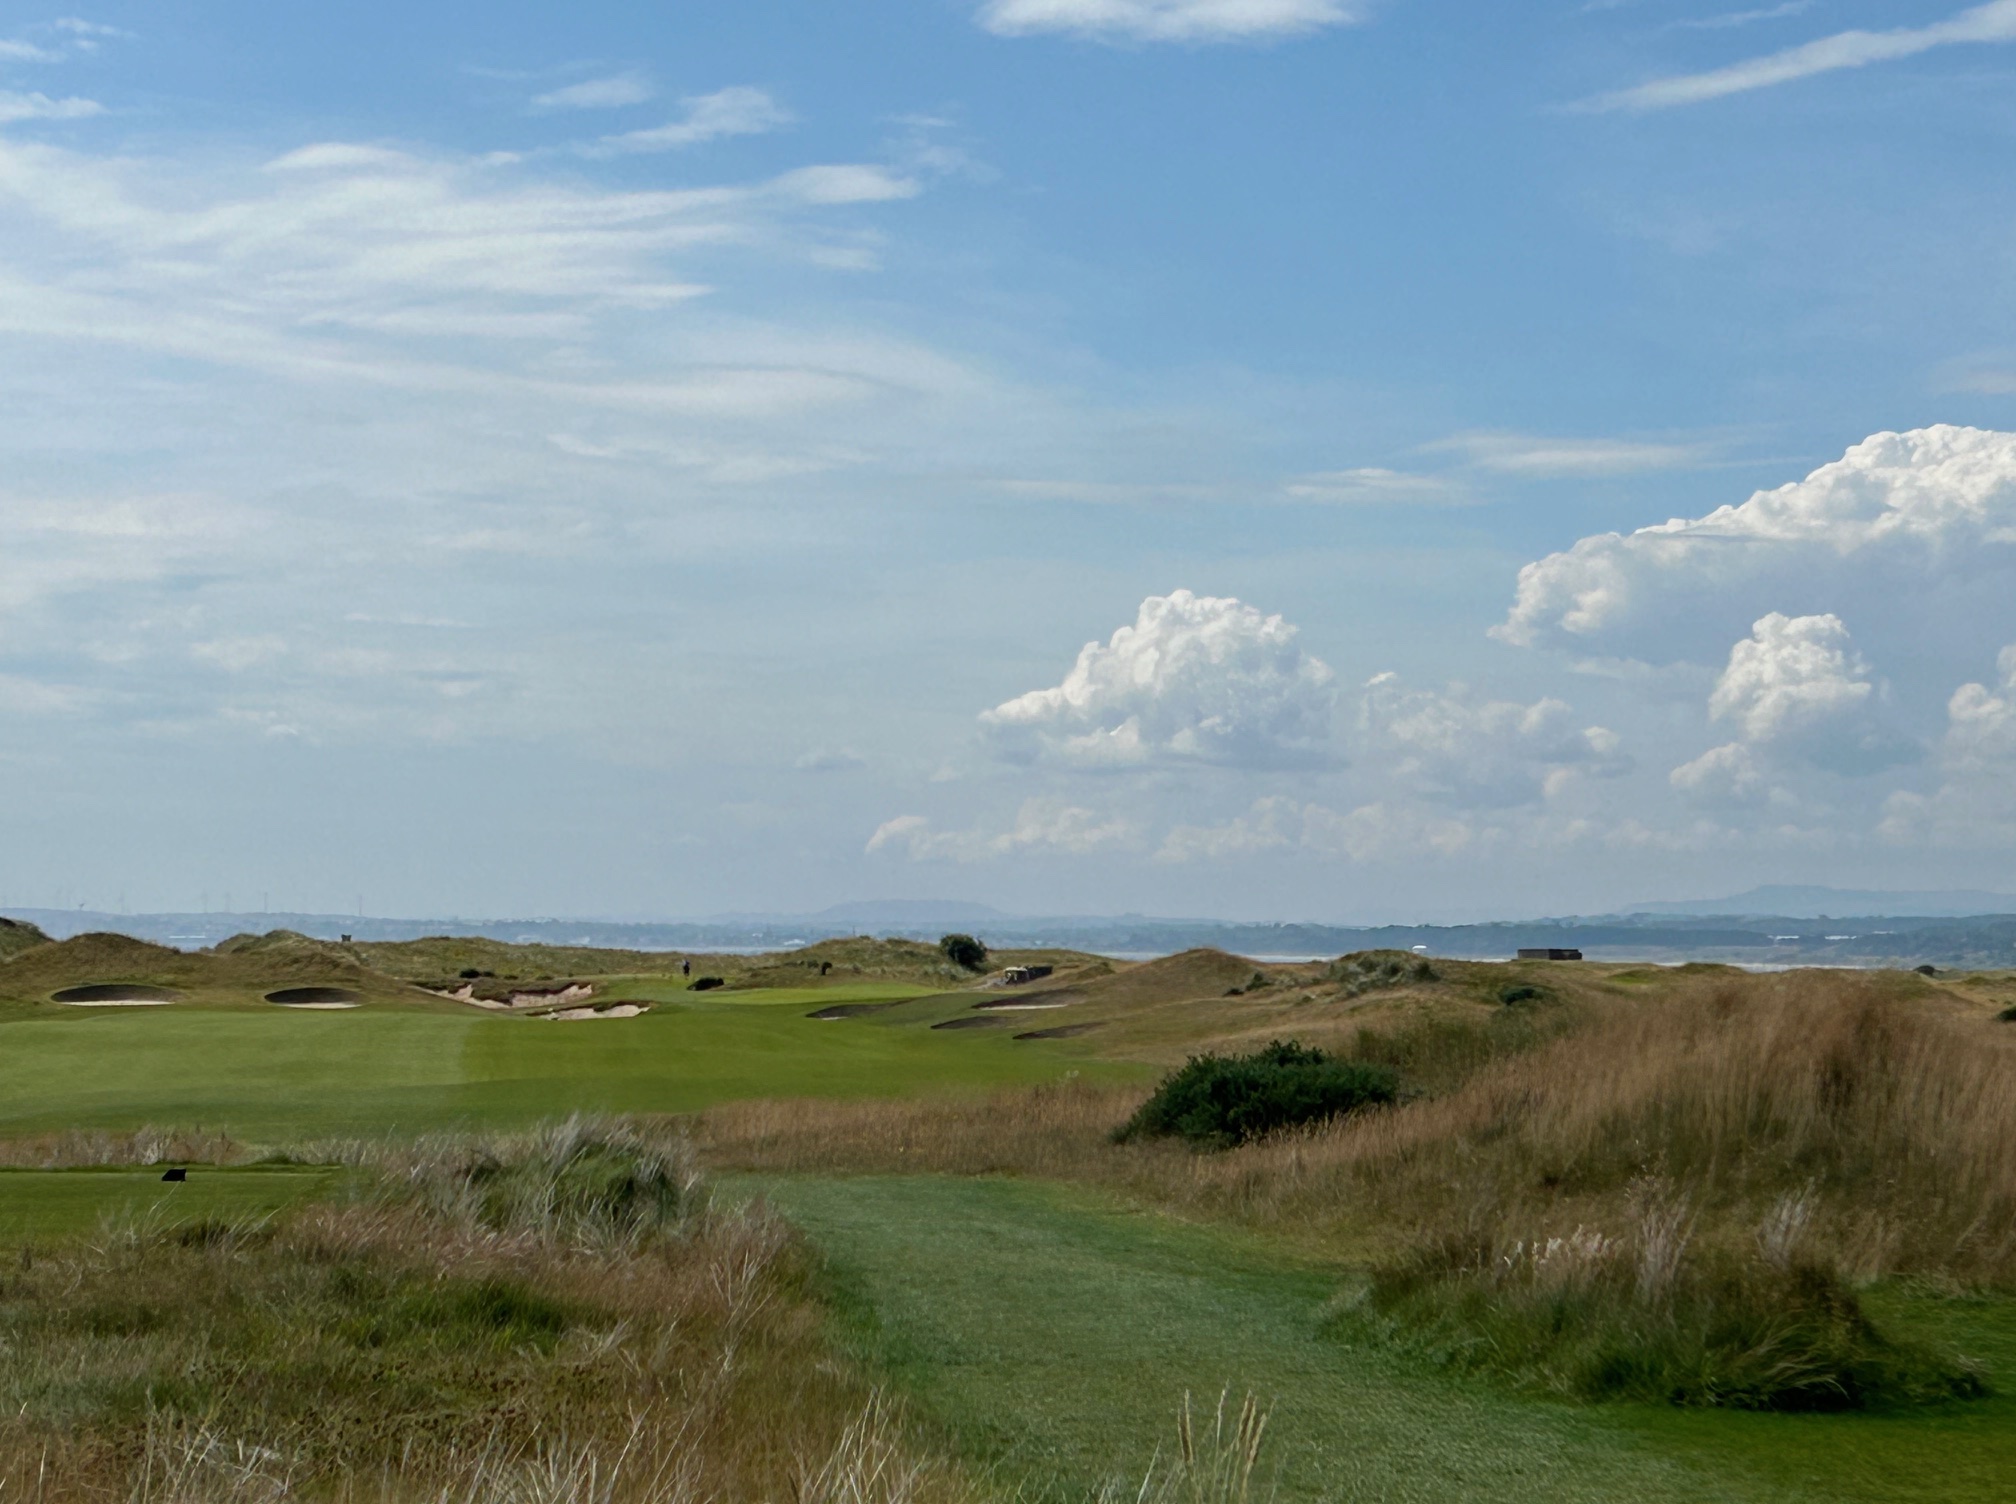
From the clubhouse’s promontory position the course unfurls beneath your feet as it makes its way to the Firth of Forth following two counterclockwise loops-to the west for the outward nine and back to the east for the inward half. This creates added intrigue as the wind direction will vary significantly from hole to hole making club selection an enigma as you pirouette around the circular trail of the holes on each side.
The course opens up with a pair of seemingly tame downhill holes but don’t be fooled because both feature fairways truncated by an encroaching burn running up the left side off the tee and then crossing the fairway in the approach area. These winding brooks can capture a shot without adequate intent.
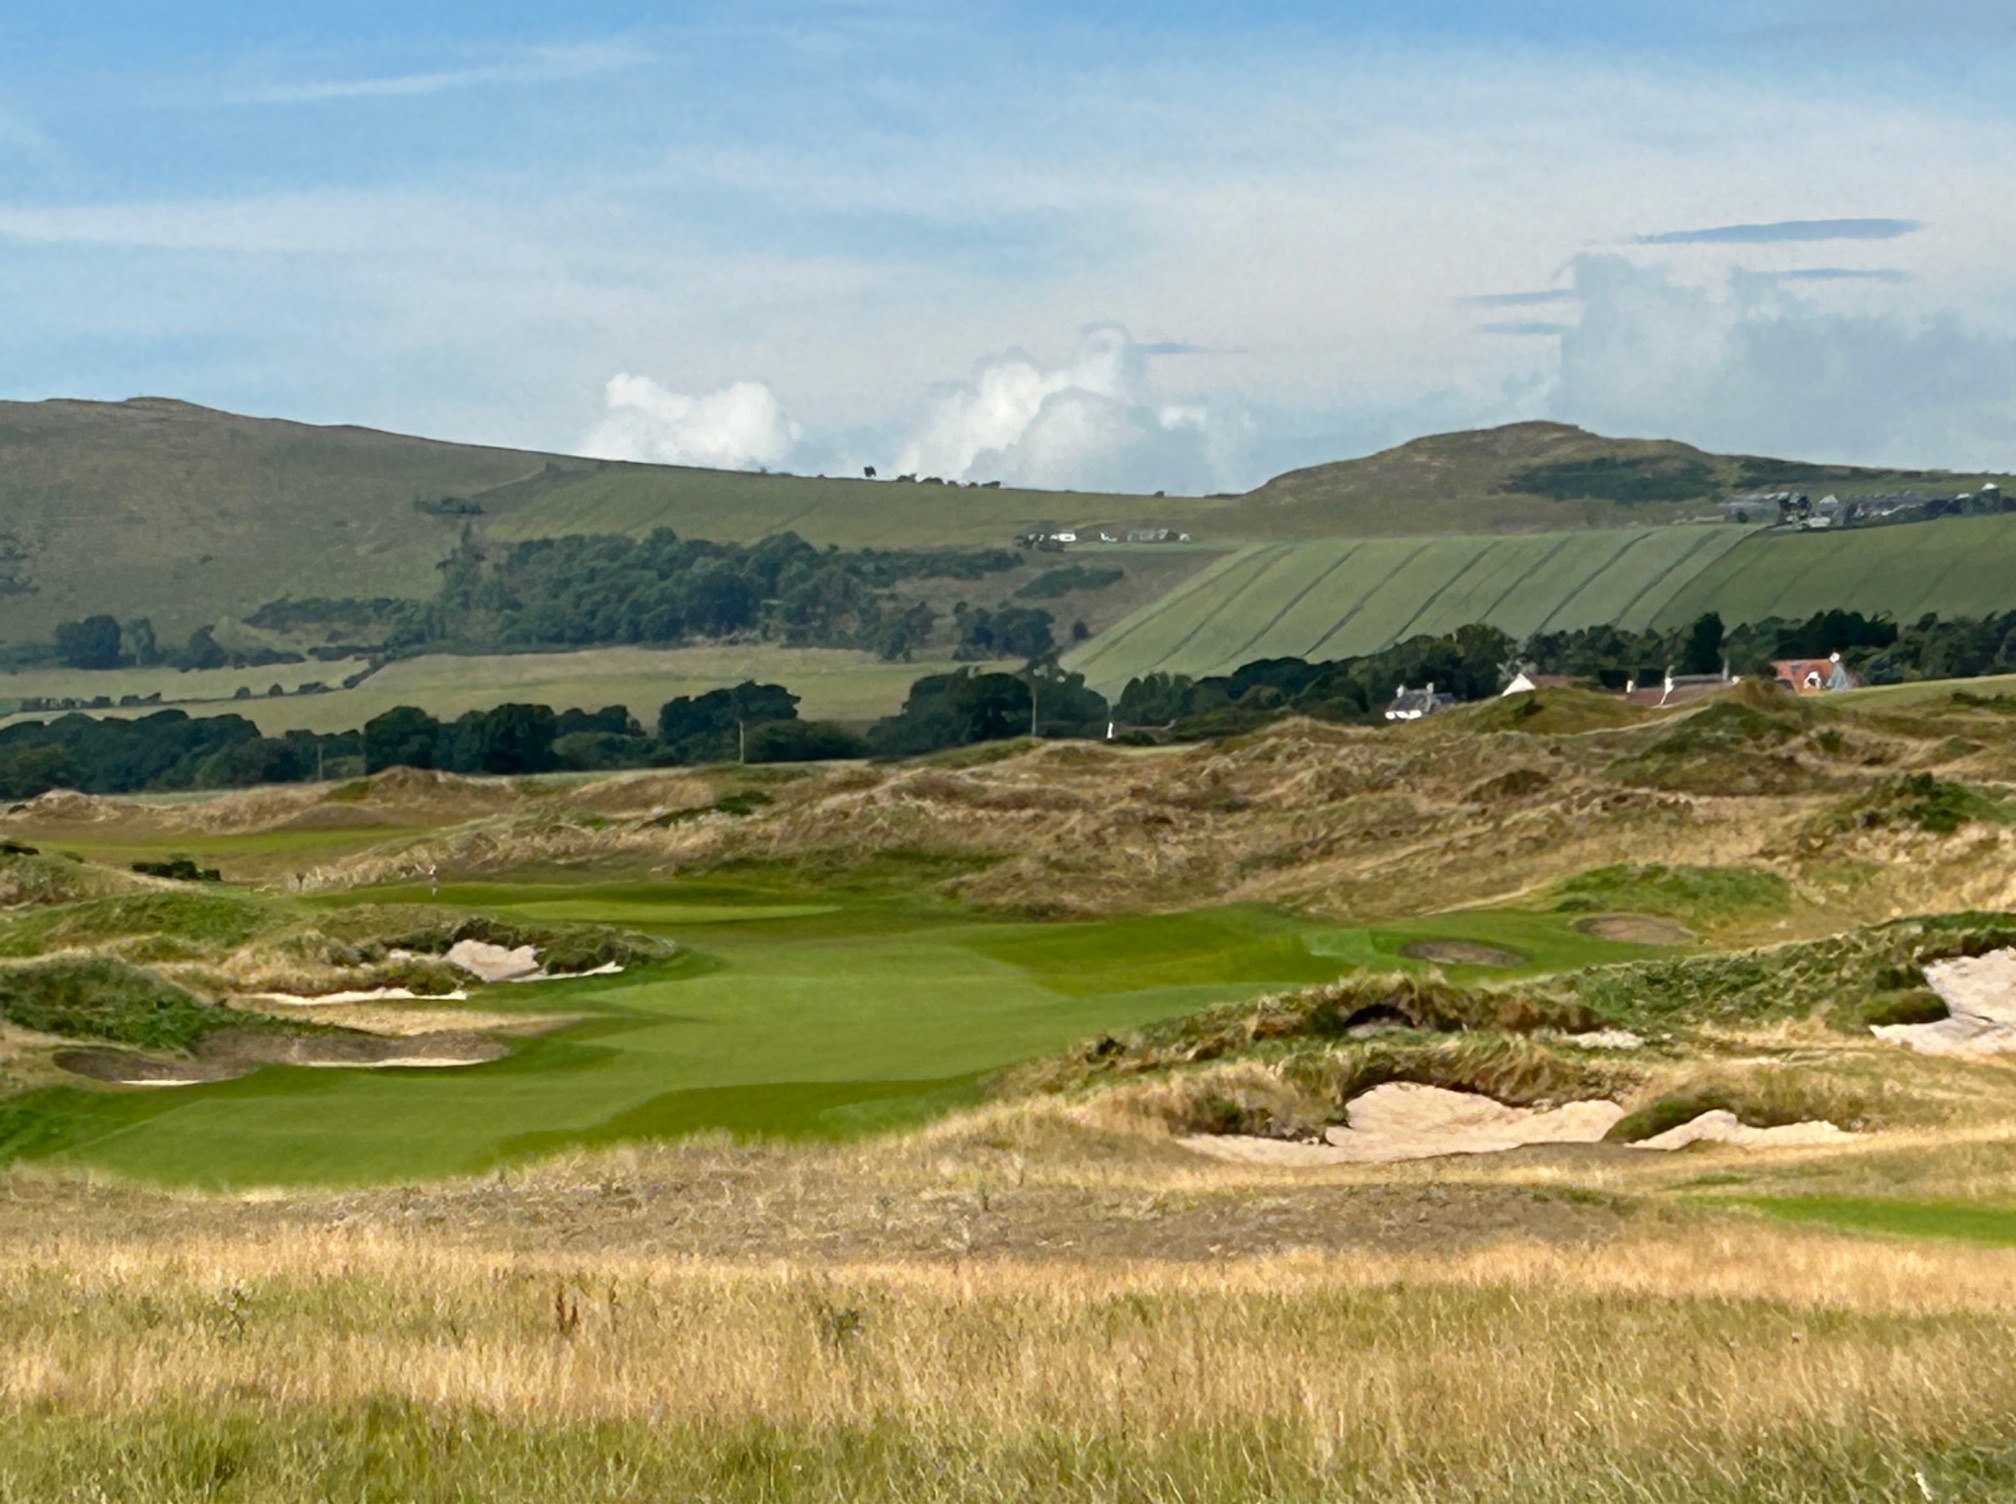
As the printable hole-by-hole strategic description embedded in the link at the end of this posting indicates, you have to pay attention to the topographical detail of these greens which often have bunkering on one side but equally punishing shoulders and roll offs on the other.
The third hole is the first of a number of seemingly driveable four pars you see during the round. The elevated tee gives you a good look at the risk/reward you are presented with if you decide to play the heroic line. More often than not discretion is the better part of valor so play for proper attack position on the approach shot.
On the Par 4 fifth you get Clark’s other favorite strategic element, a split fairway on a longish par four which forces you to make a decision off the tee. The line results in a shorter shot to the hole is the far more harrowing carry where as the safer side will play two clubs longer on the approach shot to follow. I like the fact that the further back the tee a guy plays from it is incrementally more difficult finding the fatter portion of the driving area due it being 60 yards longer and a tougher driving angle relative to the landing zone.
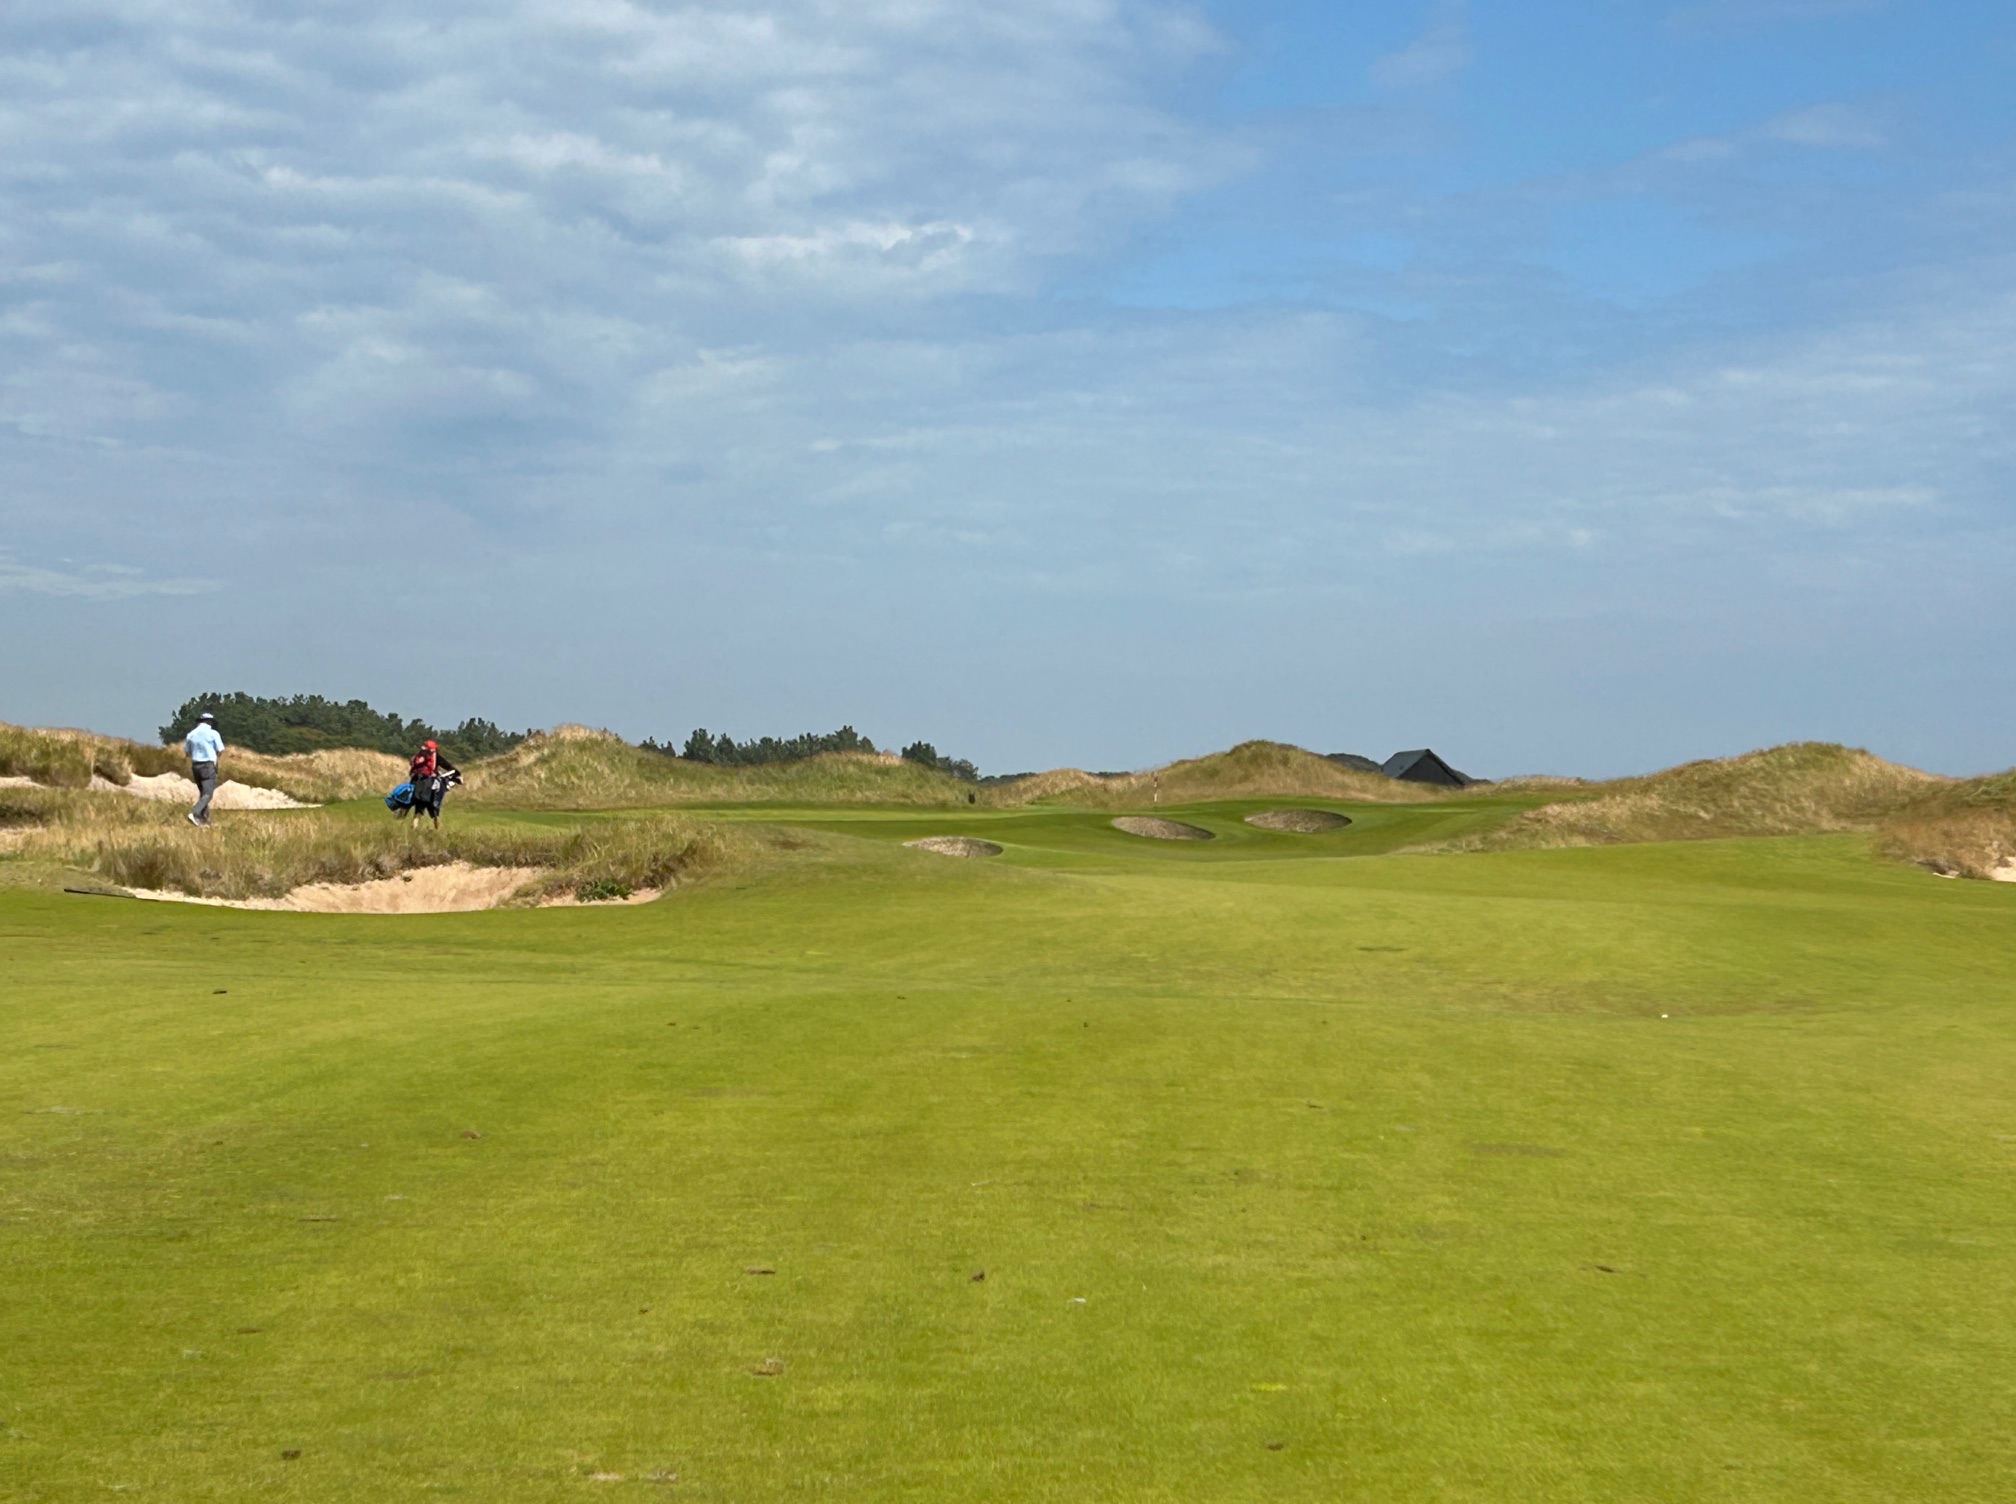
There is one strategic oddity on this layout in that the one-shot holes are bunched in two 3-hole increments on the front and back and the first one is not until the sixth hole on this side.
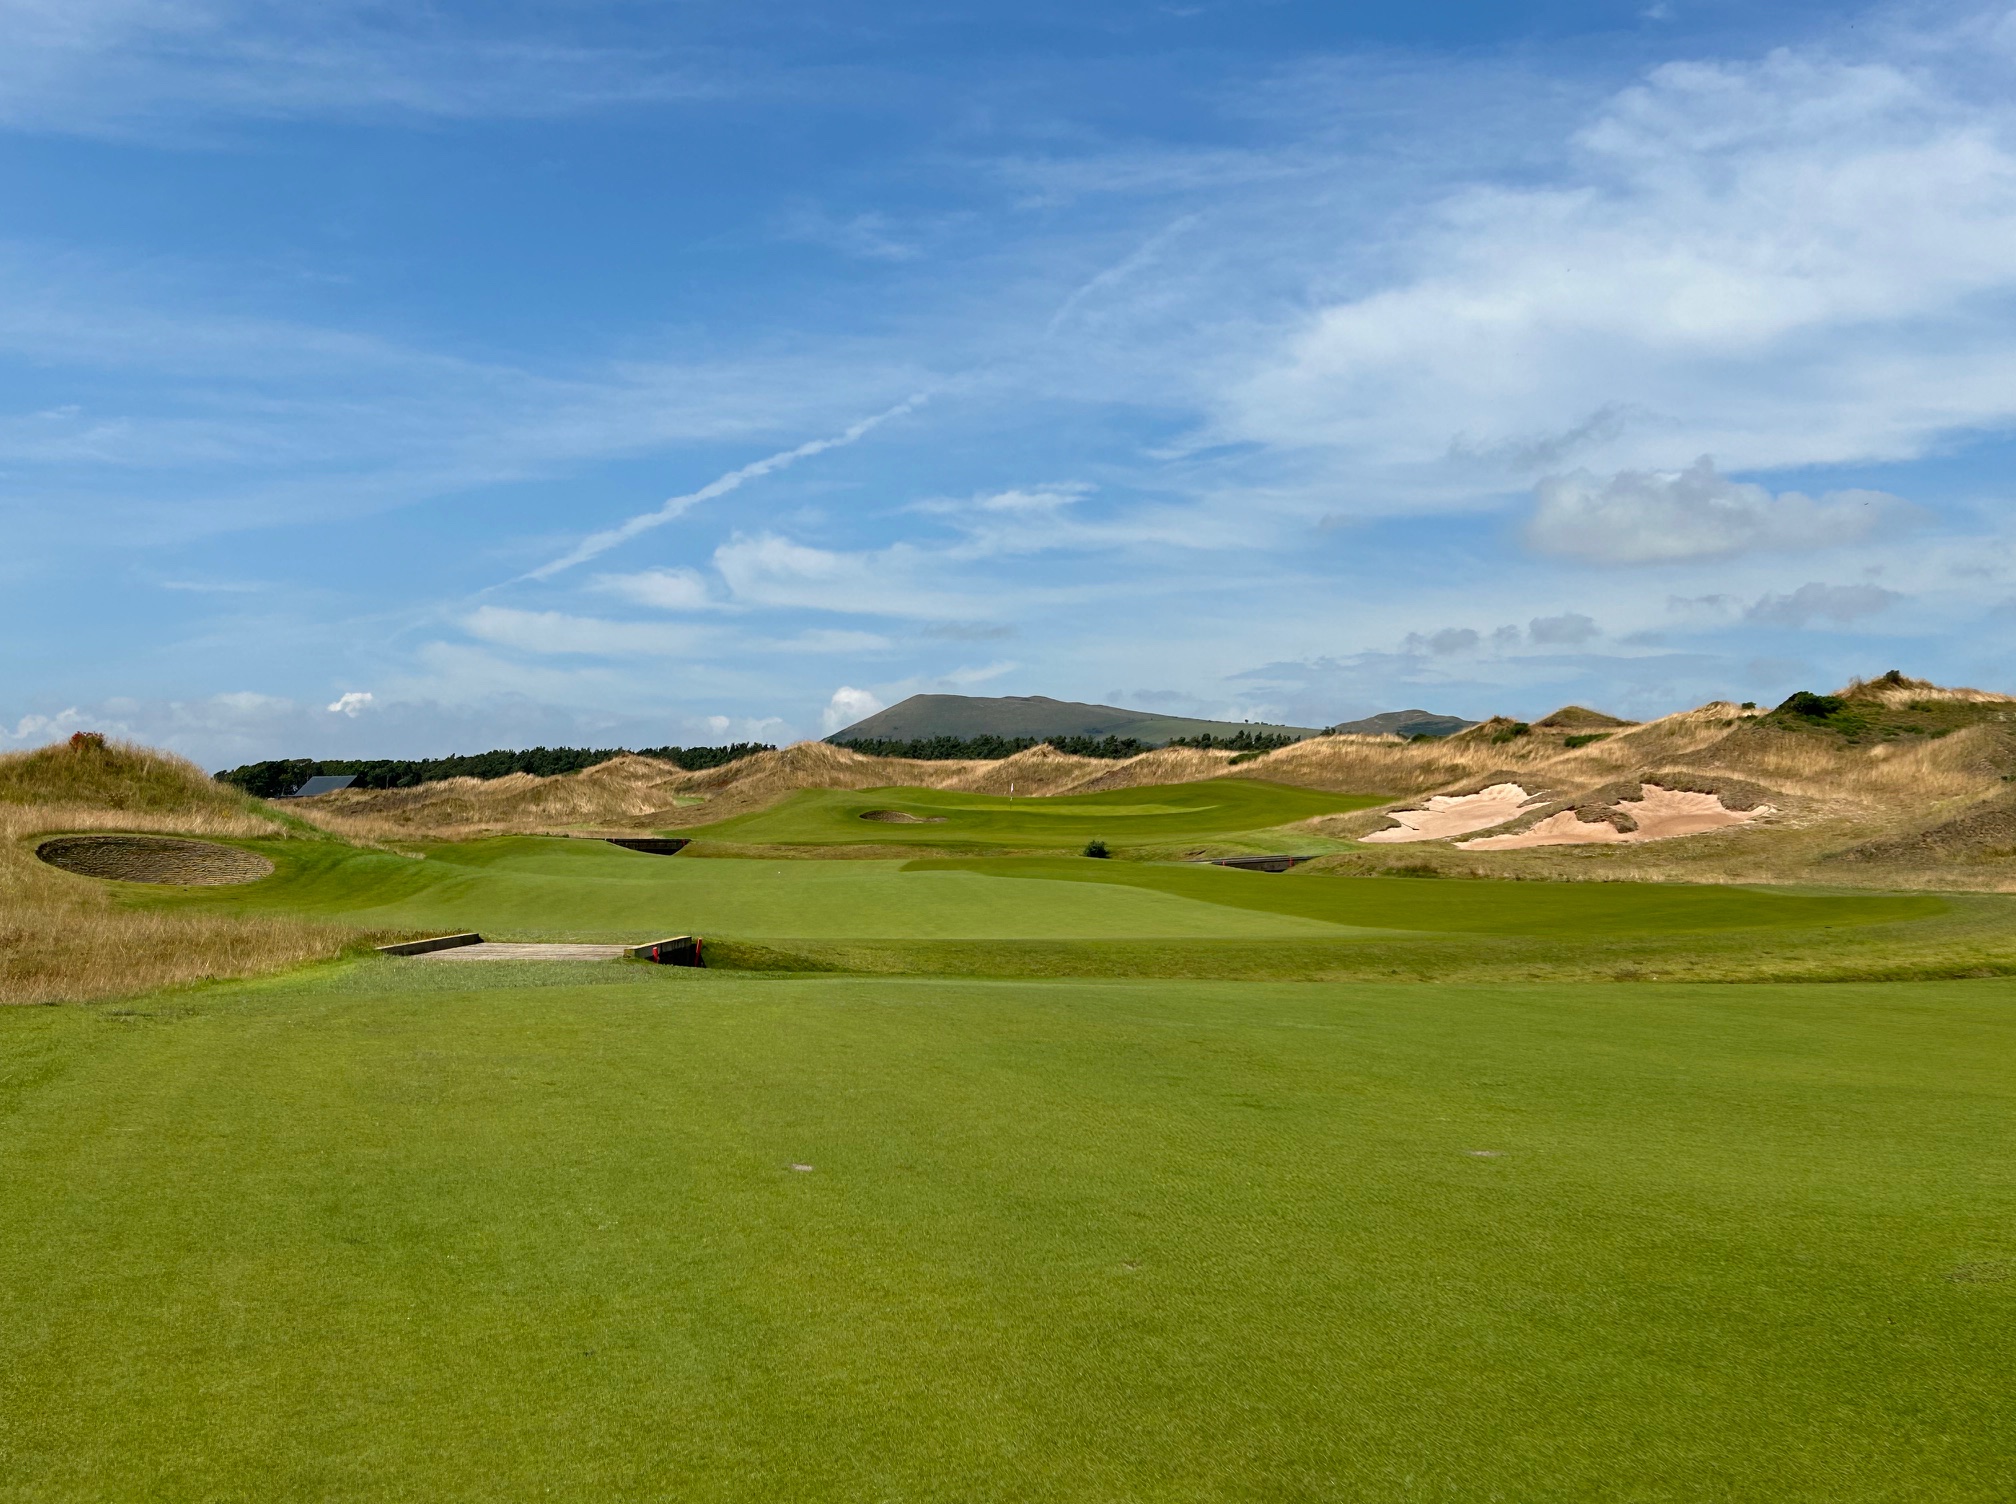
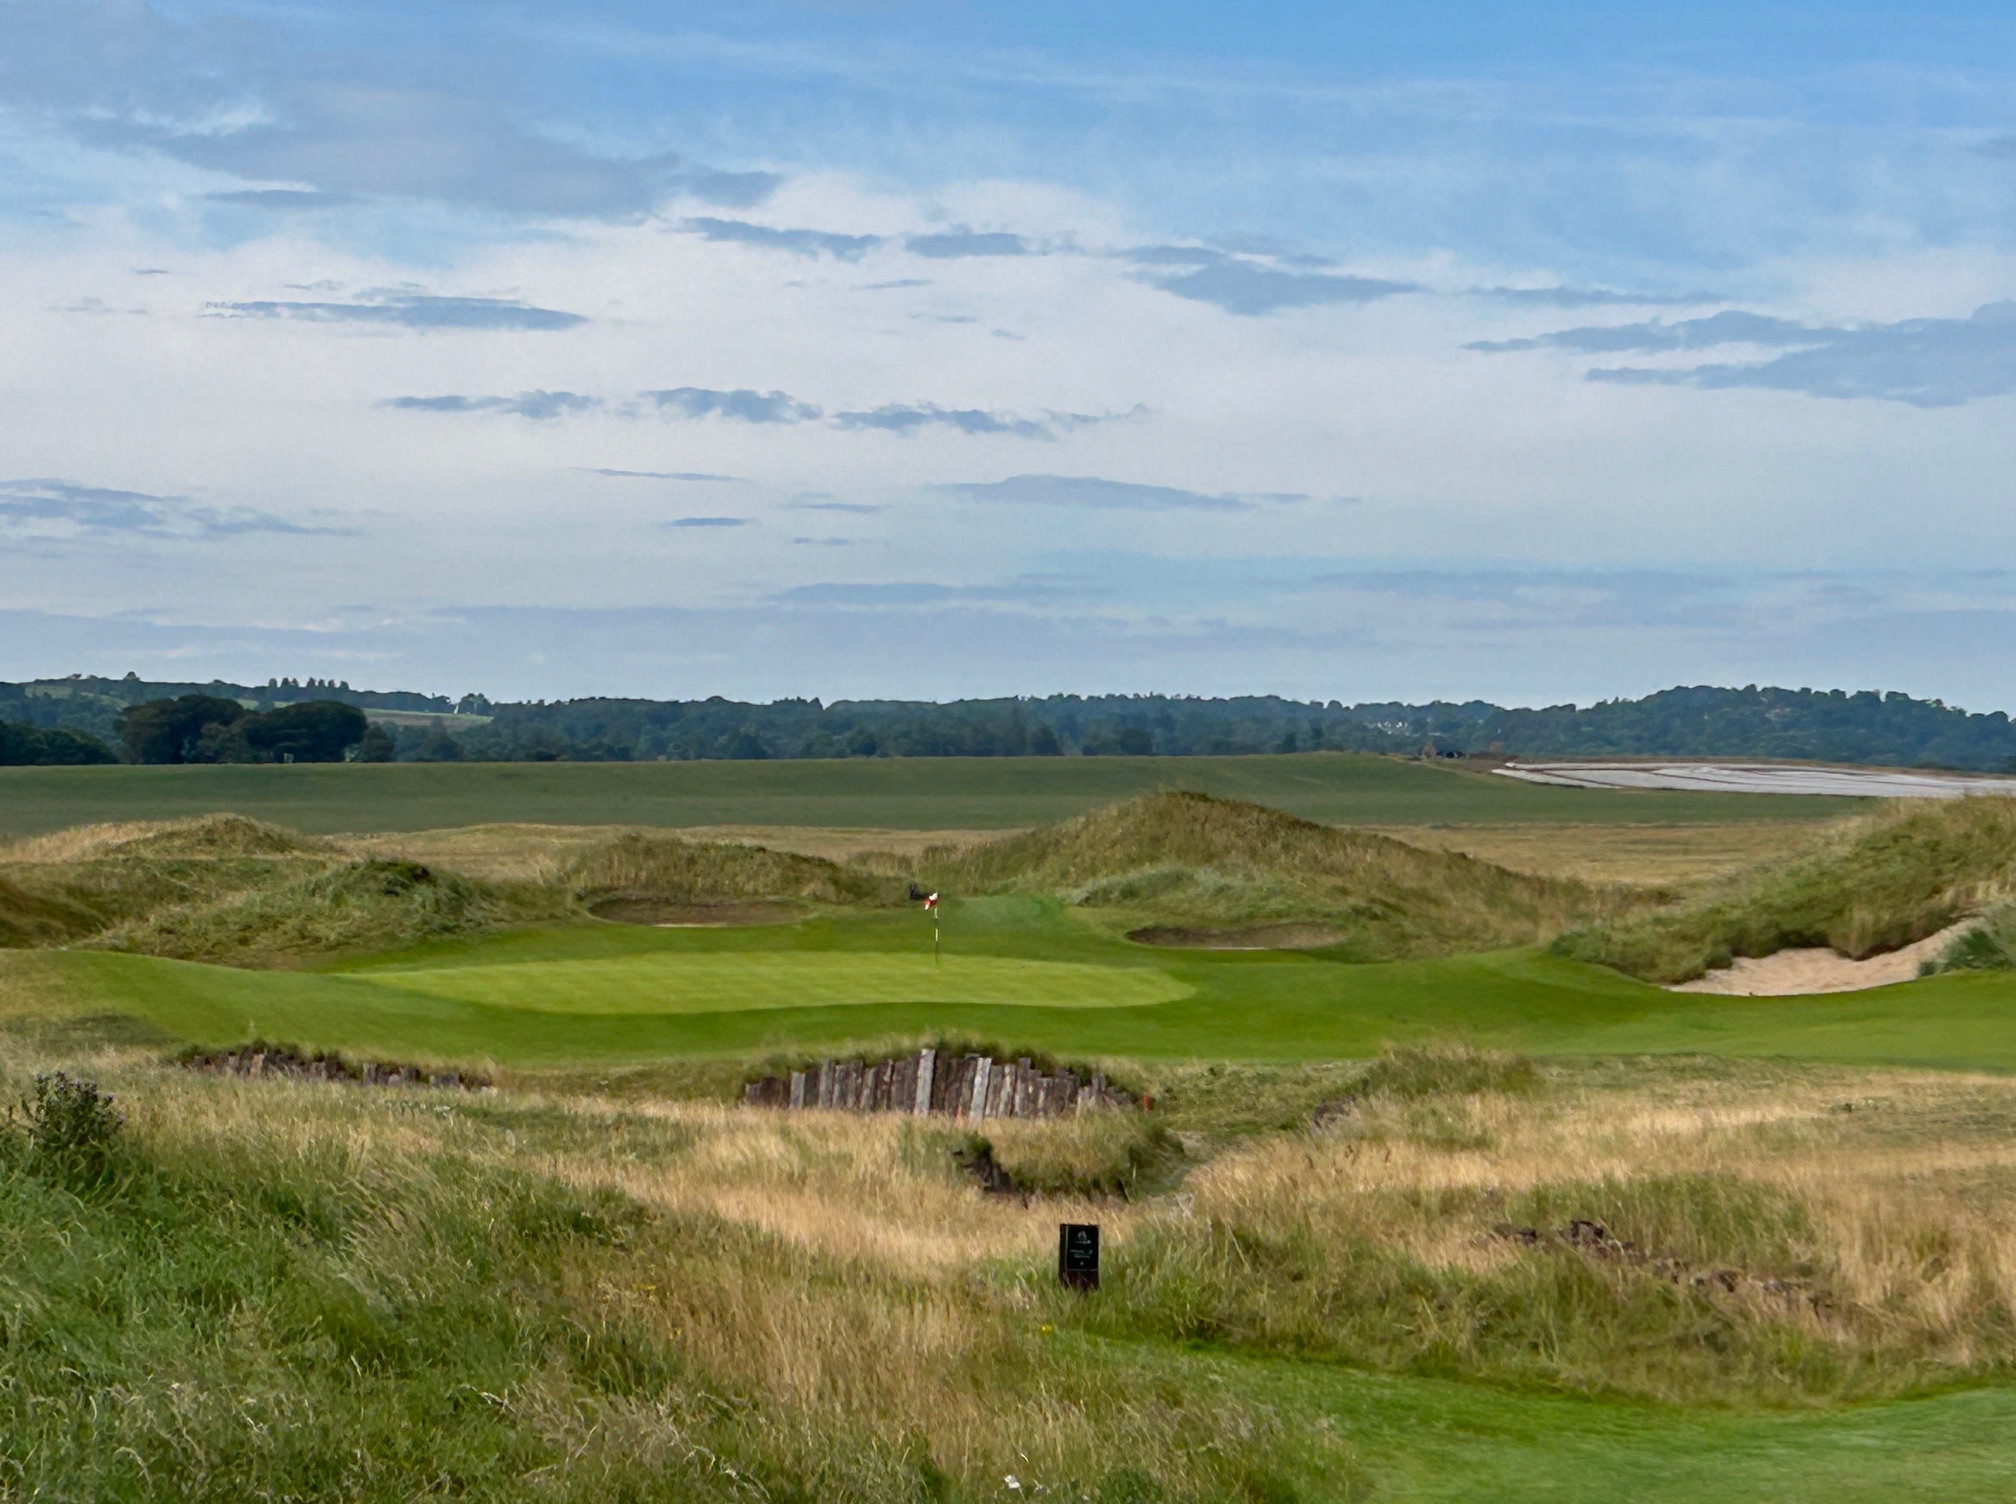
The two three-pars on the outward half are diametrically opposed in both length and topography. The sixth is a medium length uphill right-to-left bias over a wasteland of scrub and sand into a green that is protected by deep revetted face bunkers. The eighth, which tumbles down toward the sea, is just a wee pitch on the shortest hole on the course, but the 40-yard long diagonally set green has three distinct tiers which makes it an absolute lawn dart challenge into the day’s pin to avoid a dreaded three-putt opportunity.
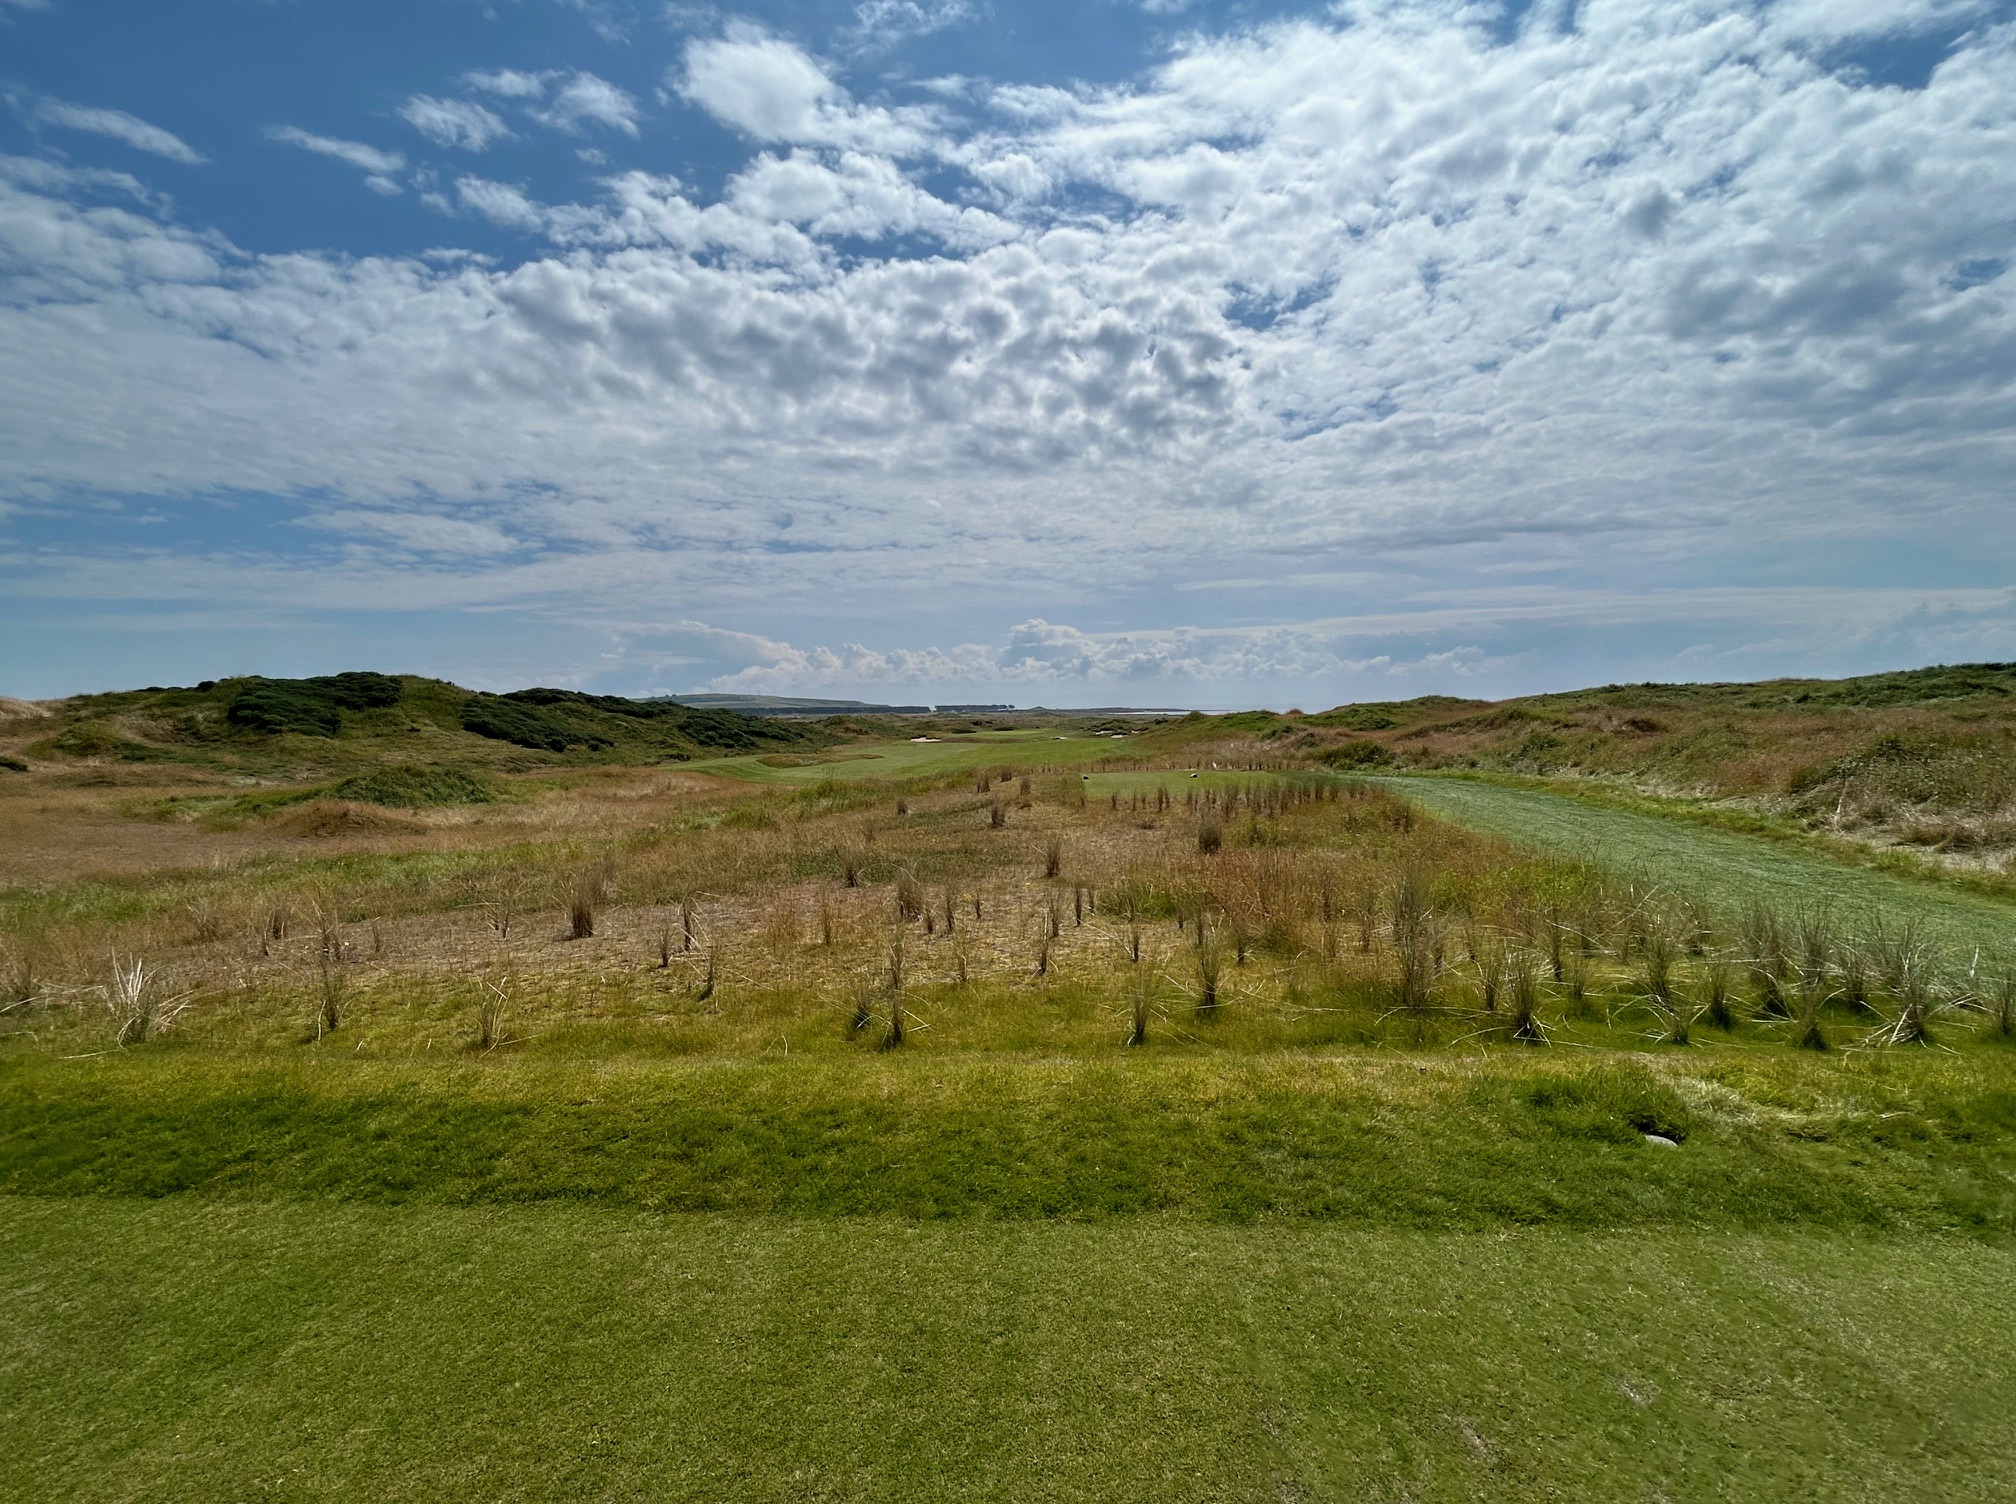
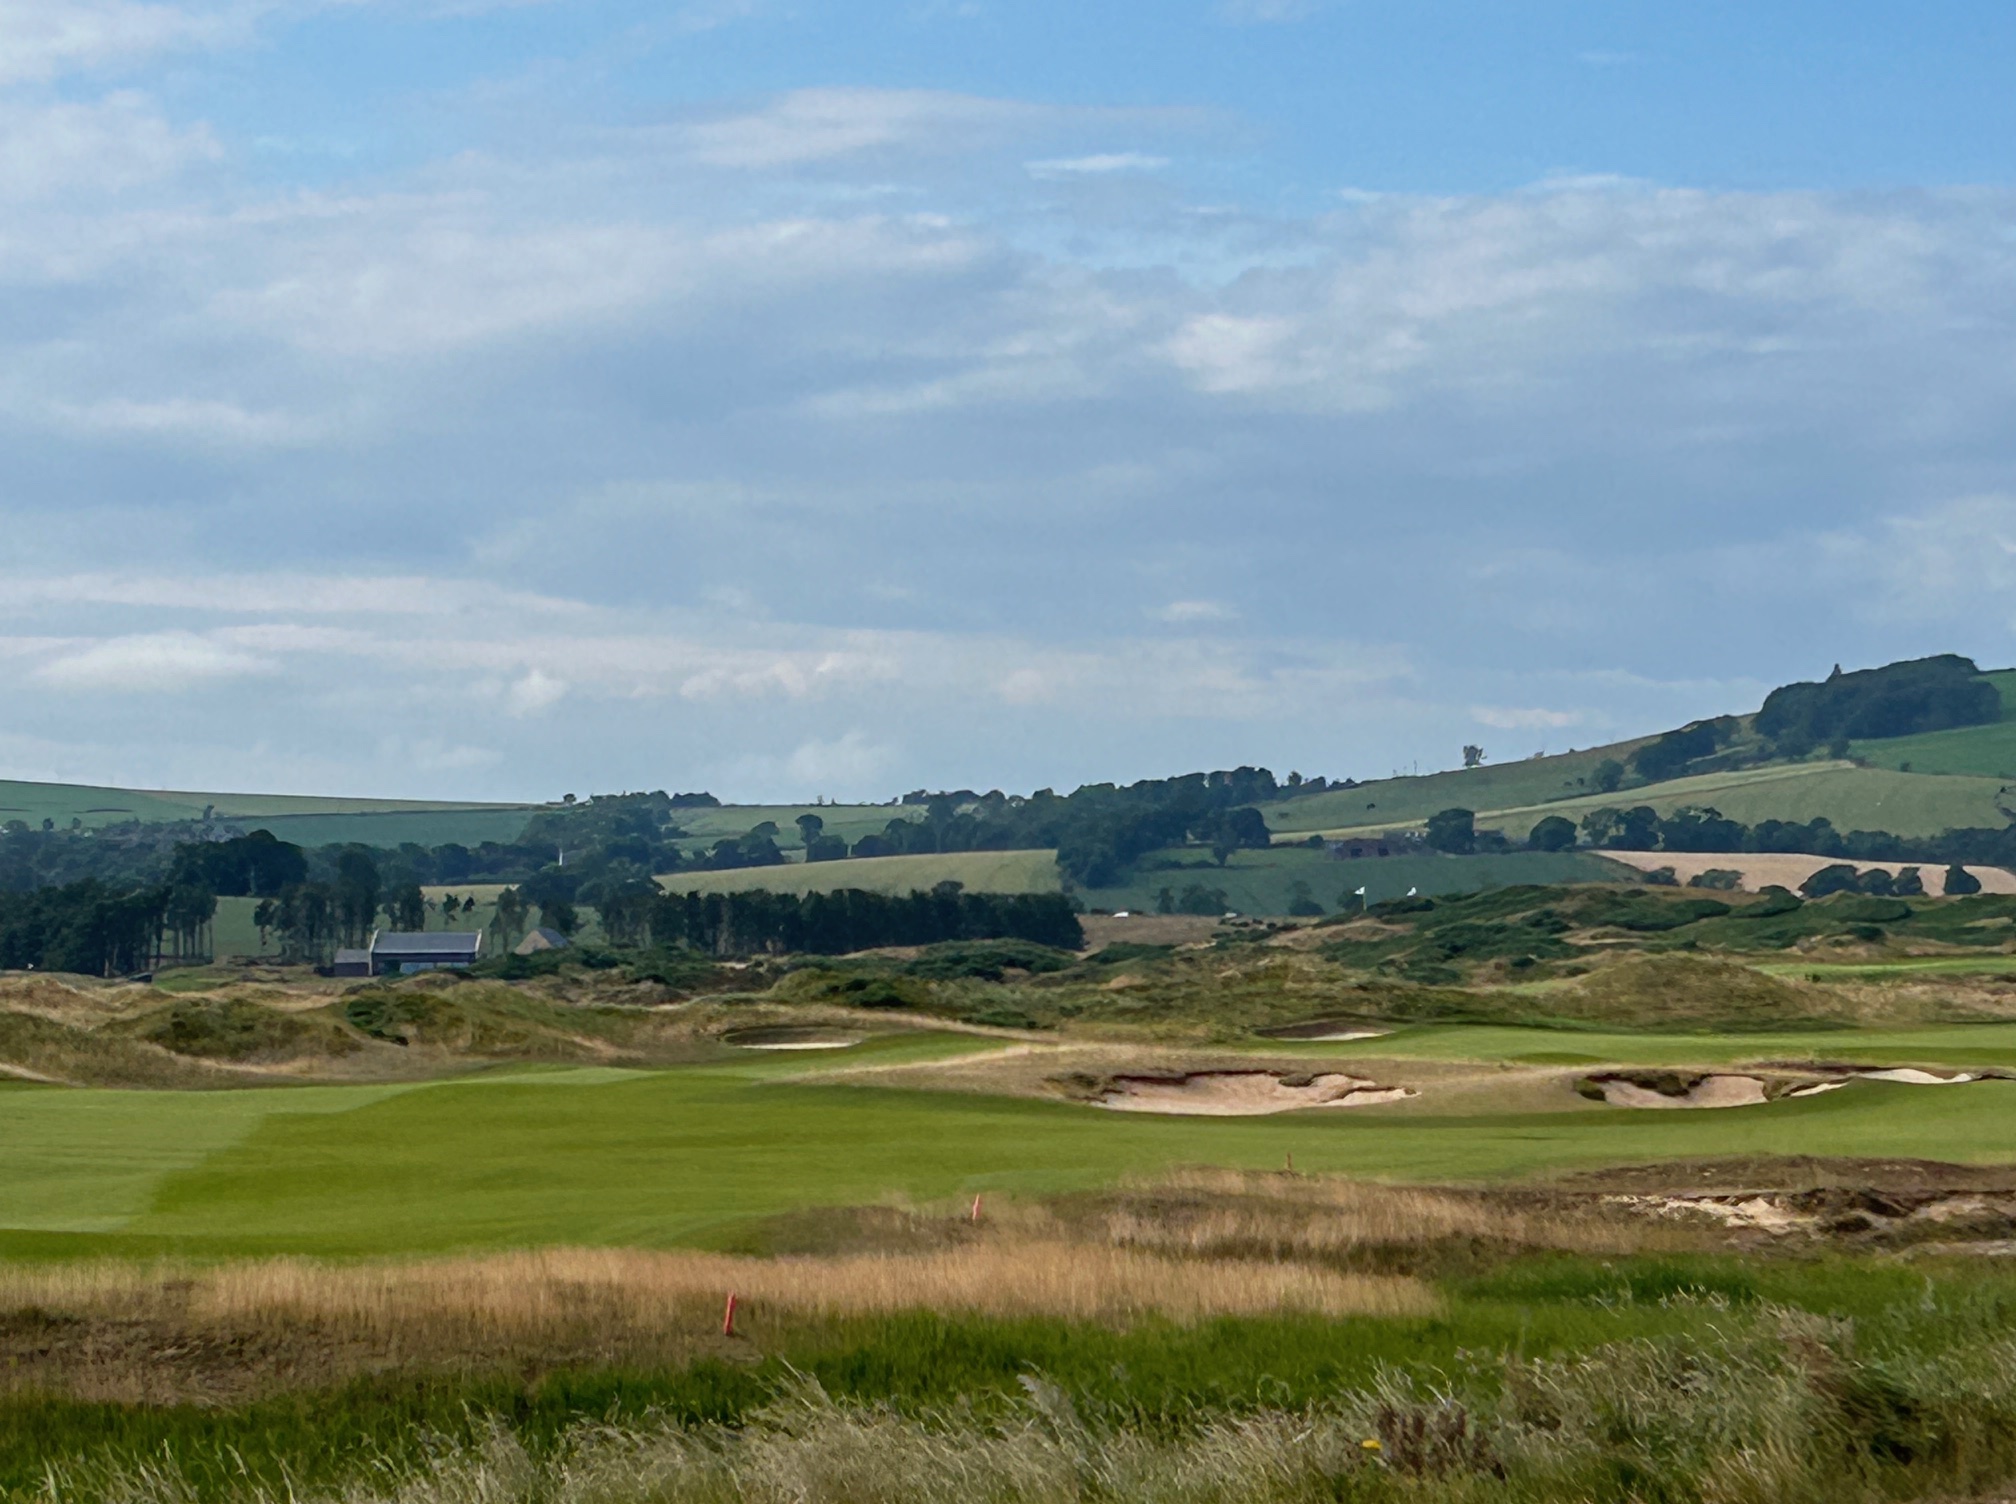
This nine ends with another panoramic view of the Firth on the #4 handicap hole on the card, so it is no pushover. After fitting the tee ball into a driving area narrowed by a pair of deep fairway bunkers on the right you are faced with an uphill approach into a green naked of any bunkers with a deep heel print in the back section.
From the frying pan into the fire, the second half begins with the #1 handicap hole, a stunning looking truncated dogear right par four with more risk then you can imagine on both shots. If you succeed in finding the fat part of the driving area off the tee you have to negotiate the burn that bifurcates the approach line to cape-like setting of this sprawling putting surface.

Once again Clive tempts you with a drivable dogear left over a wasteland of hollows and brush on the 11th. The alternative drive is a 160 yard shot to the right edge of the fairway leaving a short pitch into another wildly contoured green.
After a fairly straight forward Par 4 the 13th is another partitioned three-shotter which makes you ponder alternative routes based on lay up positions in alternative fairways on your second.
Once again it has taken five holes to reach a Par 3 on this side. With the prevailing wind from the left, he complicates the task by carrying the burn up the left side of the green so you are encouraged to take an extra club to make sure you carry the penalty area.
The second Par 5 in the last three holes this one presents the split fairway off the tee instead of on the approach. The truly bold player can hit it up the right fairway to shorten the angle and the length for a second shot at the green. Most will play it as three shots up the left but be aware of the extreme false front of this 45-yard deep green which will reject any approach without sufficient energy.
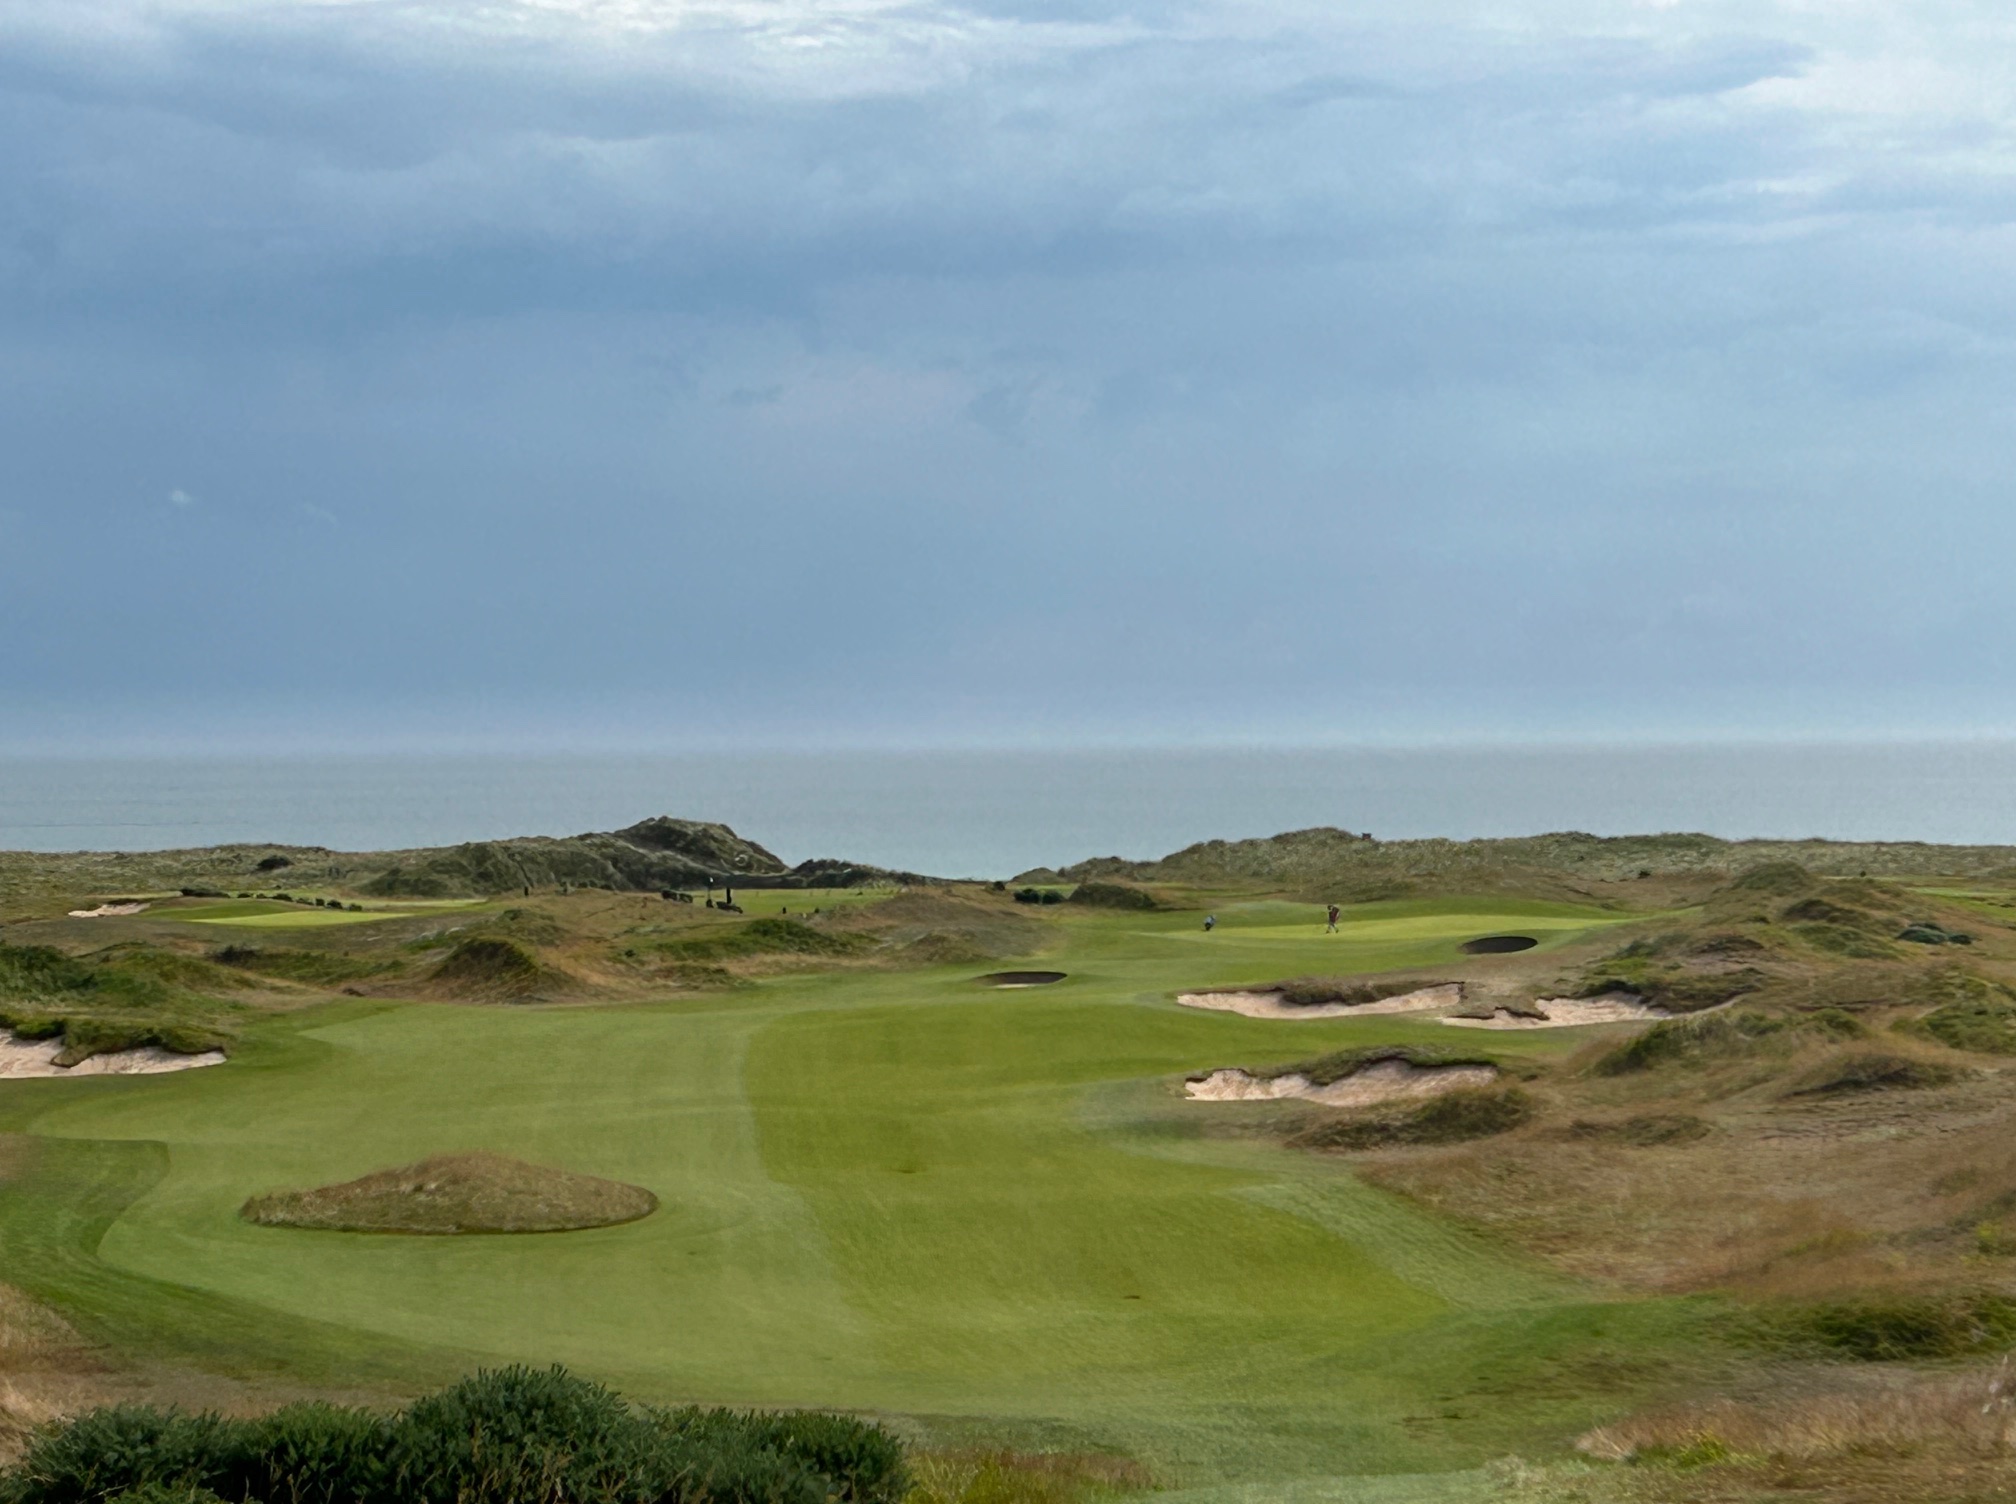
Playing back toward the sea the last short hole plays downhill into the wind and requires a left-to-right line to play up the diagonal green setting. This is not a hole to go flag hunting because of the revetted bunker protecting the right side of the green.
Giving you one more chance for a heroic downwind tee ball the penultimate hole is potentially drivable but this time there is a 300 year-old stone wall playing into the decision. The lay up on this dogear right before the wall is a shot of about 180 yards leaving a 100 yard pitch into a mushroom shaped green pinched by pot bunkers. The more ambitious tee shot needs 200 yards of air to reach the other side and leaves a very short punch and run into this green complex.
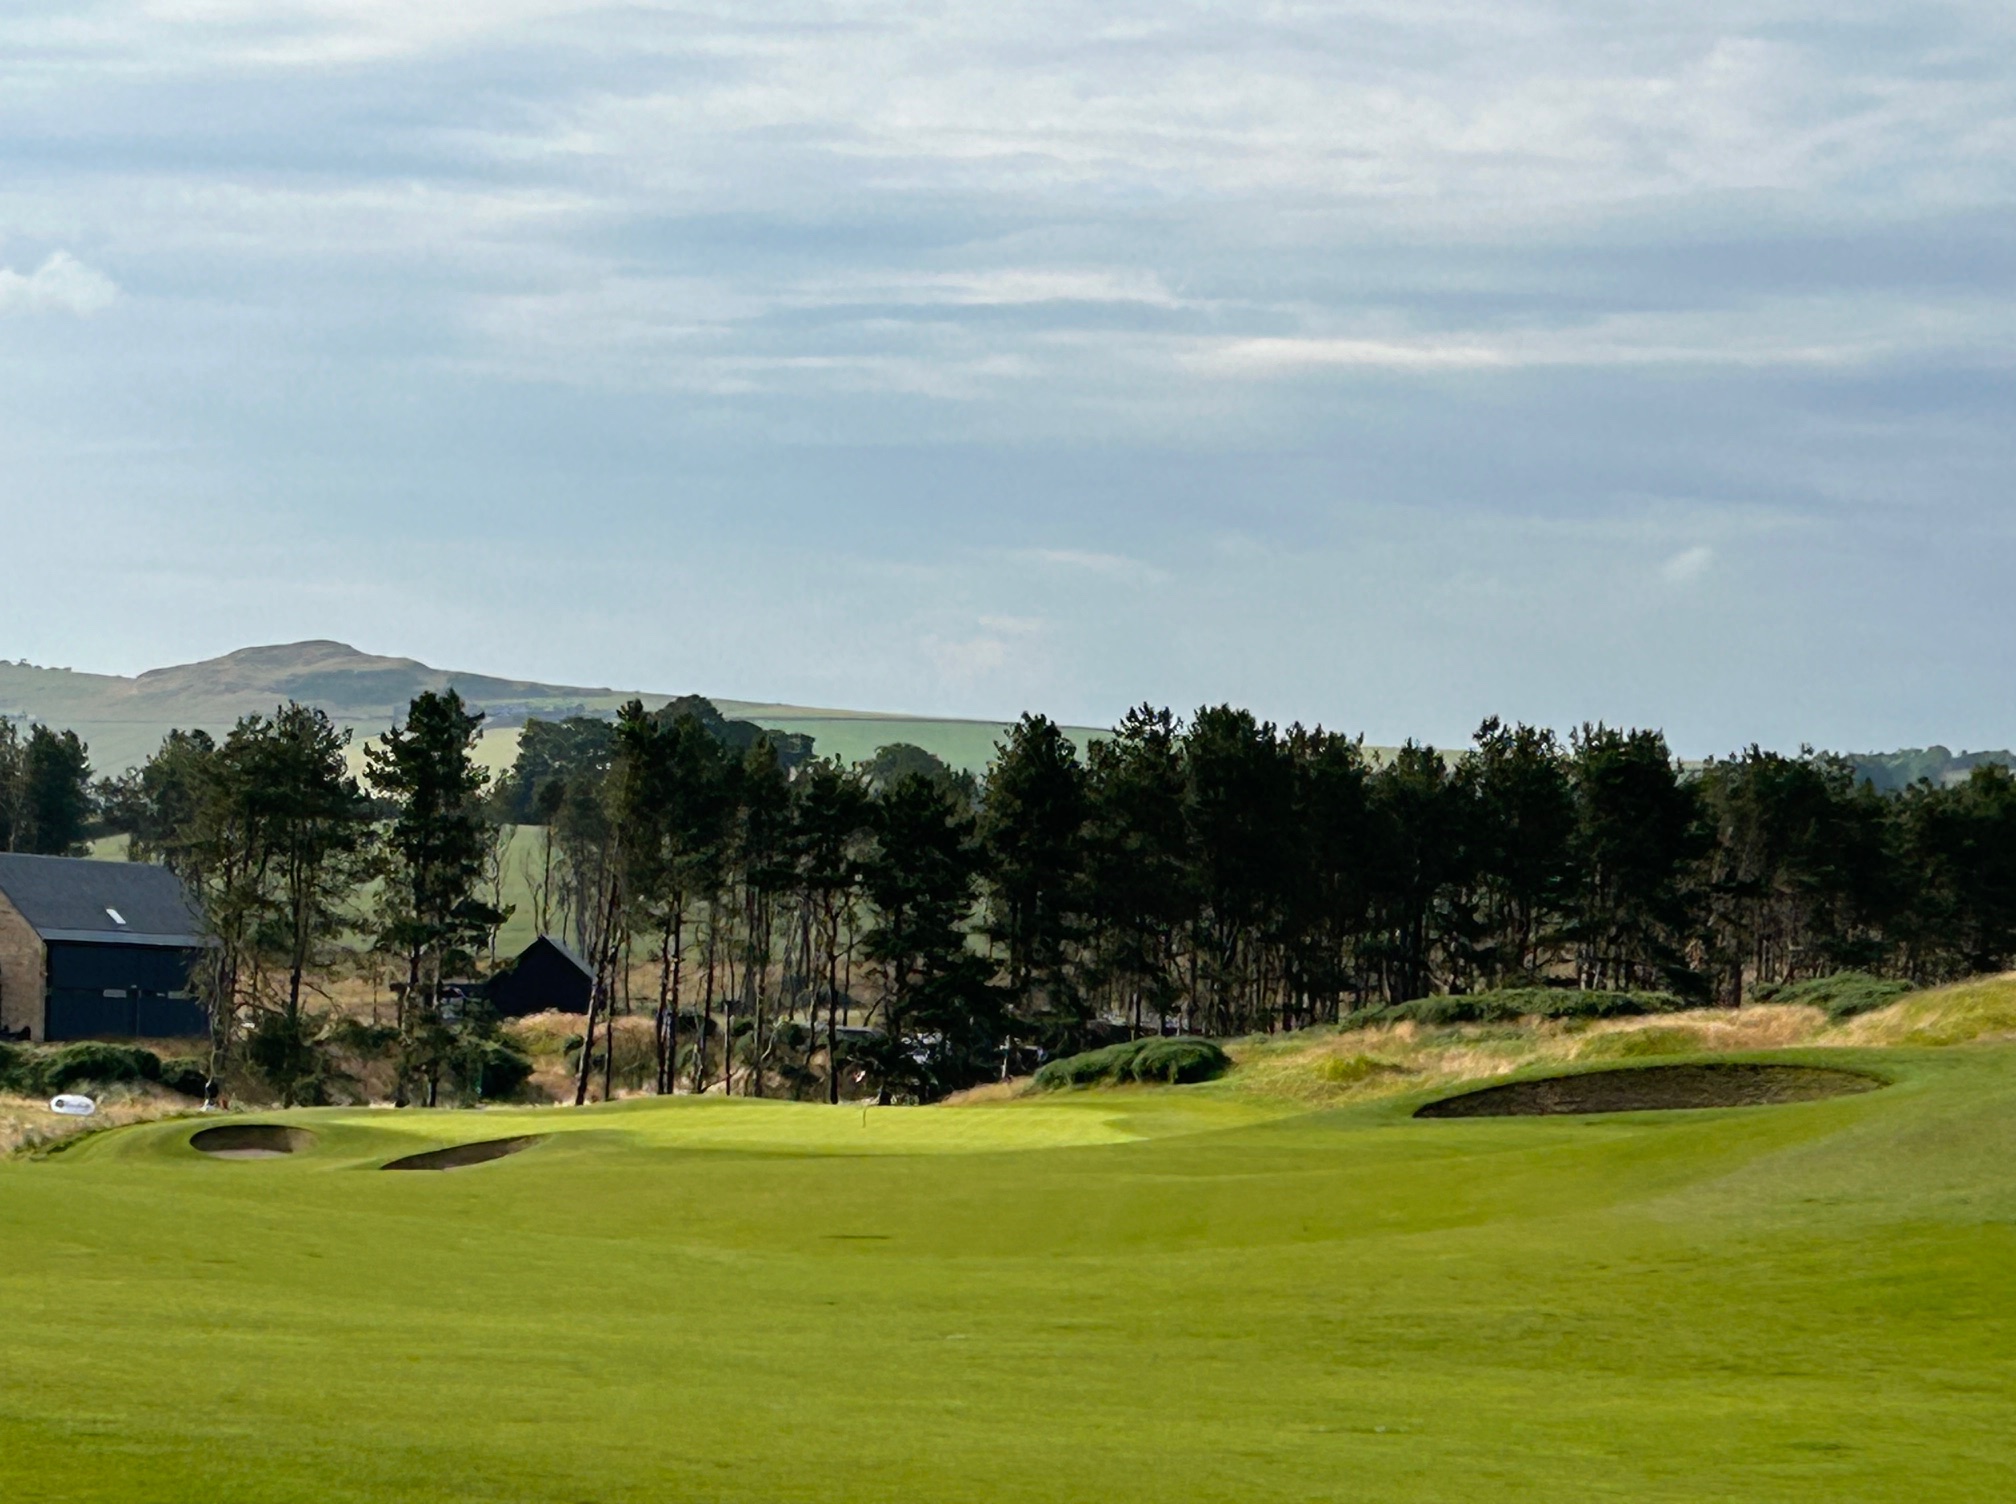
The finish is a long and challenging dogleg right Par 4 which presents a semi-blind tee shot over a crested hill with flanking deep fairway bunkers on the corner. From the safe driving area adjacent to the bunkers the approach is a downhill look at a long green nestled in the hill below the clubhouse. What a satisfying finishing look to this splendific layout.
Once you are done take the time to sit behind a tall adult beverage in the clubhouse bar with a breathtaking view of the majesty of this course. Plenty of time to seed some big fish stories about all the amazing Dumbarnie Links challenges you took on today.
Upper Largo, Fife, Scotland
Architect: Clive Clark (2020)
. Par Rating Slope Yardage
Black 72 73.2 130 6940
Blue 72 71.0 128 6421
White 72 68.4 125 5901
Red 72 70.6 127 5296
If you would like a printable PDF of this posting including yardage book quality hole-by-hole descriptions of how to play the course click the moegolf logo below.